I wanted to remove the upper ball joints as I was going to install the All-Pro 1 inch uniball upper control arms. Before I tried to take the upper ball joint out of the new Tuff Country spindle, I decided to practice on a few of the factory ones to see just how hard it would be. I used two spindles that had come off my truck when I did the Tuff Country lift. They were about 3 years old at this point, so I figure that the new Tuff Country ones that are only 3-4 months old will come out easier.
This is how I removed the upper ball joints on my truck. This is a method that is for ball joints that you are going to throw away! You are going to damage them during the removal!

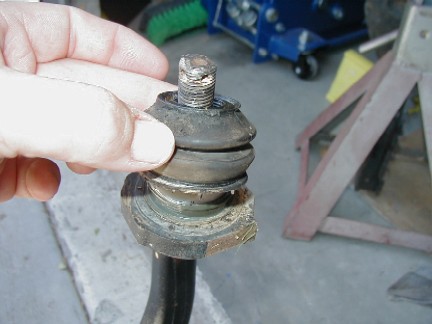
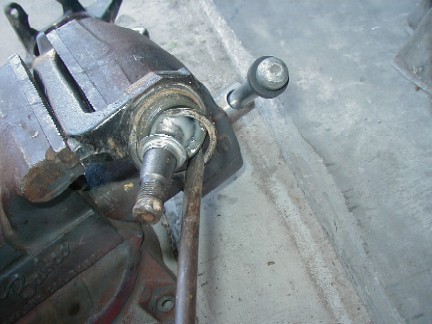

I found that a 7/8 deep socket fits nicely over the ball joint.
Make sure that it is a Craftsman socket. You may hurt it during the process and need it replaced! :)

With the socket on the ball joint, I hammered it out. I could see that it was moving after just a few hits. It was actually way easier than I thought it was going to be to pound it out.
I live in Northern California. I think that if you lived in an area where they salted the roads and such that it may be much harder to remove.
I have been told to use LOTS of anti seize when I put in the new ball joint.
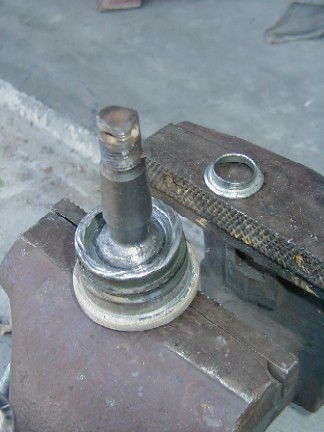
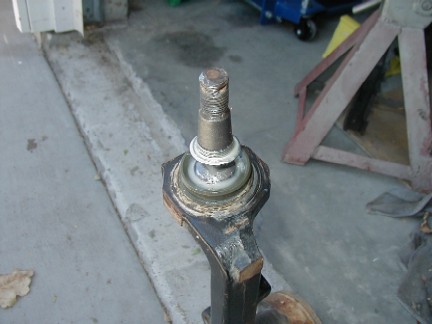
The small ring slips off, I did that before I pounded on it with the socket.
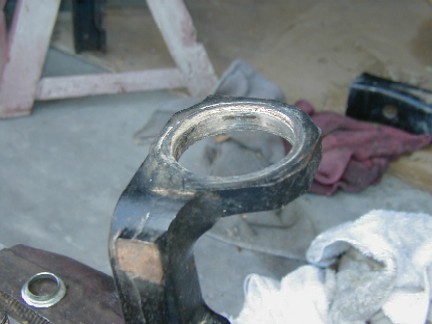
You can now throw away the old ball joint and install the new one.
7-21-2004