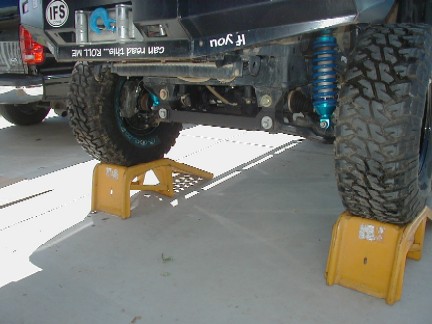
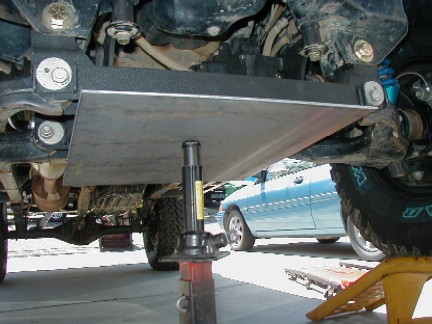
After installing the Tuff Country lift, the factory skid plate was not going to work any more. I decided to try to make another one, since I had such good luck with the first skid plate I did. The new skid was going to be a single piece, and would go all the way from the front protecting the bottom of the radiator to the crossmember by the transfer case. At the transfer case cross member, it would join up with the Skid Row transfer case skid. My thought was that a one piece design would make it stronger and also help tie everything together.
I will call this the first attempt, as I am not really happy with the result. I will explain more after you see what I did!
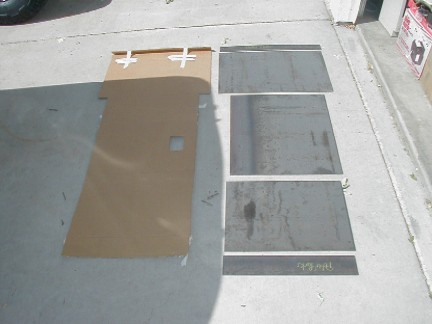
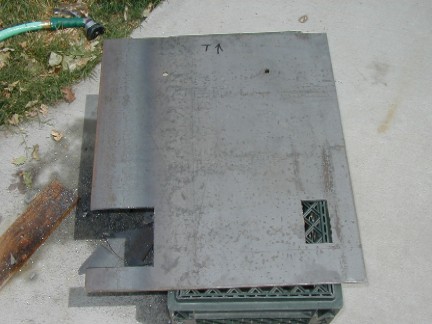
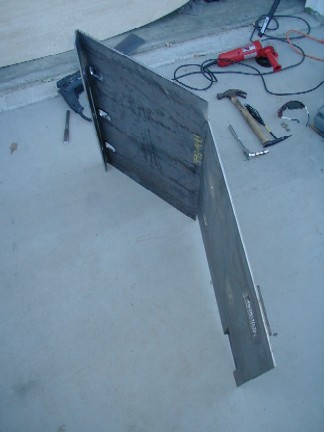
The first step was to get some cardboard and get a mock up of what I wanted the new skid plate to look like.
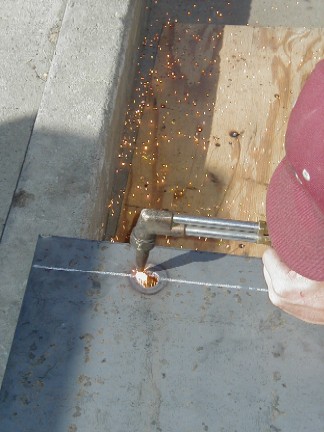
Once I had a cardboard "scrape plate", I was able to order the metal.
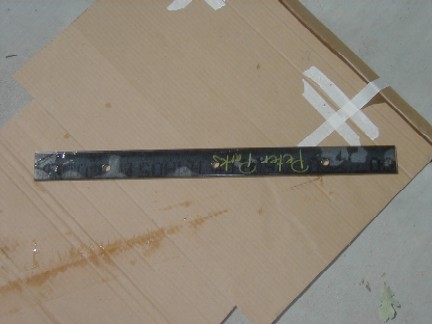

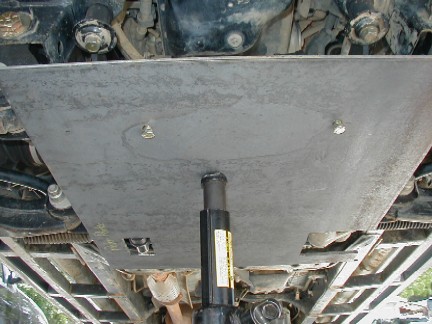
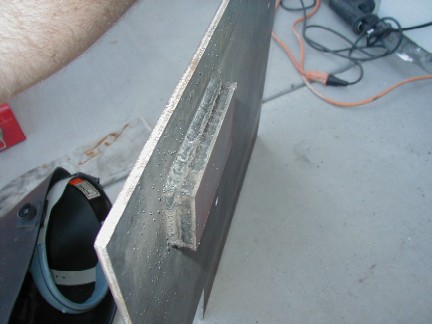
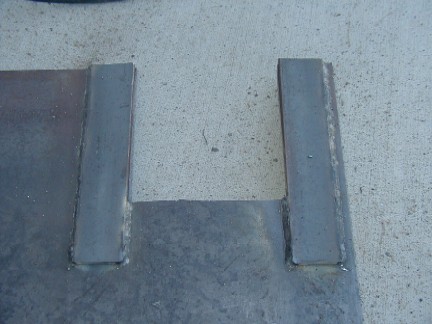
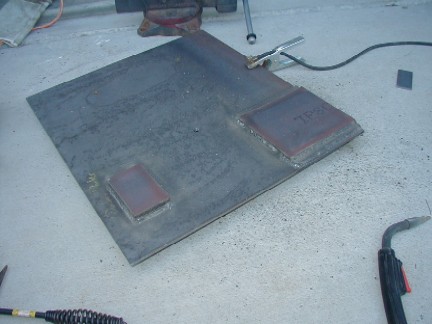
Once it was all in place all the seams were welded.
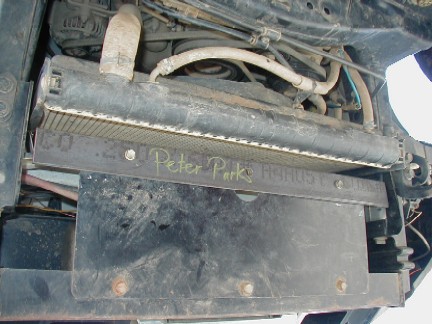
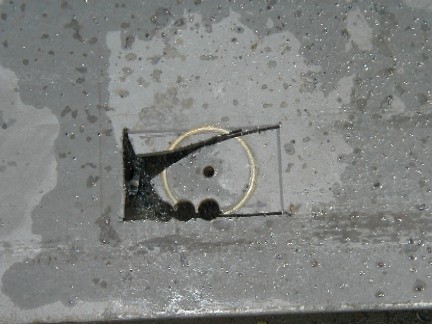
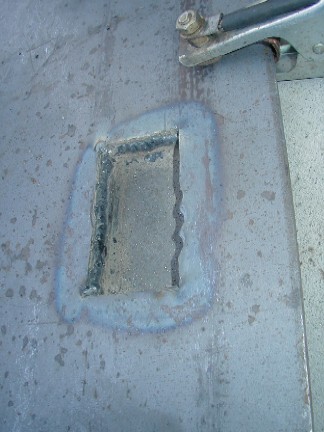
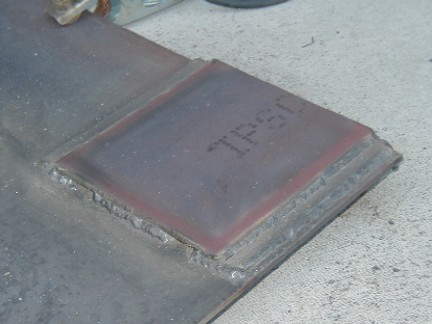
This is one of the things that I am not happy with. I always like to try to do things myself with simple tools so that others can see what to expect when they do it themselfs. This is one place that could have been done in a better way by someone with more fabricating skills and equiptment. My main concern is that these areas will hang down and act as a catch when you are trying to slide over rocks.
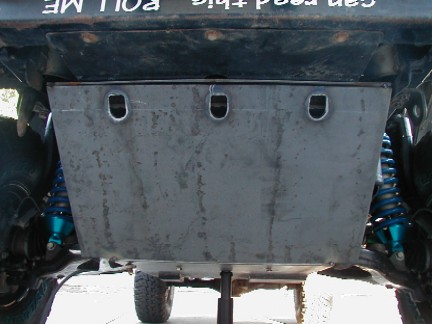
So, I already said that I am not happy with this design. The two areas that we had to make work for the steering rack are going to be a problem on the rocks when off-roading. I did not finish the plate as I had planned and make it go to the transfer case cross member. Instead, I have decided to start over on a new plate.
This plate protects more than the factory one, but not as much as I want it to.
Another factor is the weight. I knew it was going to be heavy, but it is heavier than I imagined and very hard to get on and off!
For the second design, I am going to use a front scrape plate from DMI Scrape Plates, like the one that I did the test fit on a while back. It will take care of the front, then I will go from the bottom of it to the transfer case crossmember.
Until I get it done, I will use what I have.