
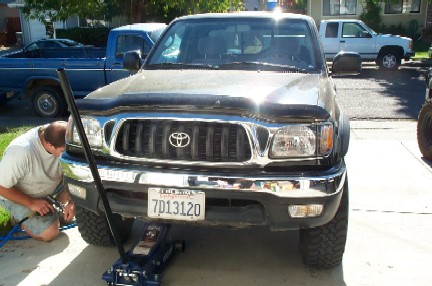
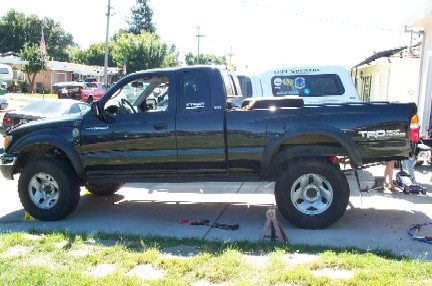
Peri was looking for a small lift for her truck, and she decided to go with a Tuff Country 3 inch spacer lift.
For all pictures of the install, click HERE.


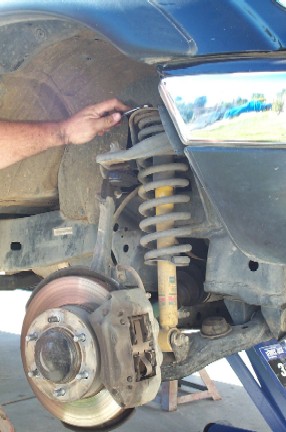
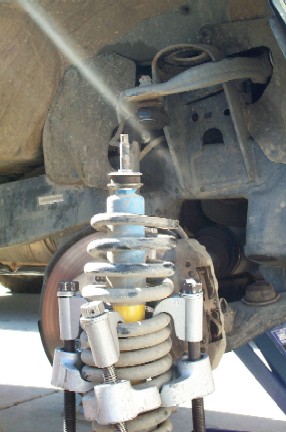
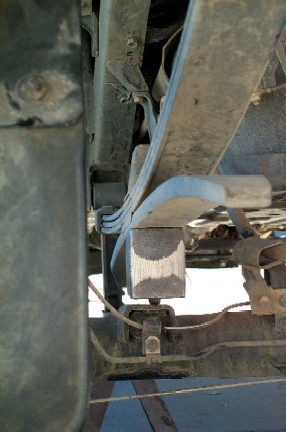
Remove the three top mounting nuts on the top of the strut.
DO NOT remove the center nut! This is what holds the strut together. Removing the center nut can result in serious injury if the spring is not compressed.
Once the three top mounting nuts are off, remove the lower mounting bolt (green arrow) and then you can remove the strut from the vehicle.
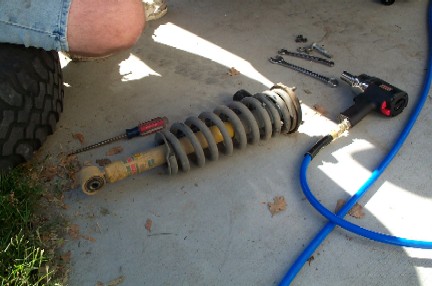

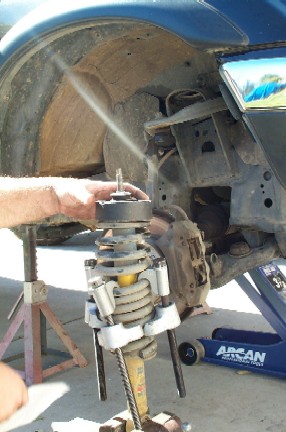
Compress the spring until you are sure you can fit the spacer between the spring and the top plate. Once you are sure it will fit, you can remove the center nut and insert the spacer.
Watch how things come apart, as you will put it back together the same way it comes apart. The only thing you will not use again is the rubber isolator (green arrow).
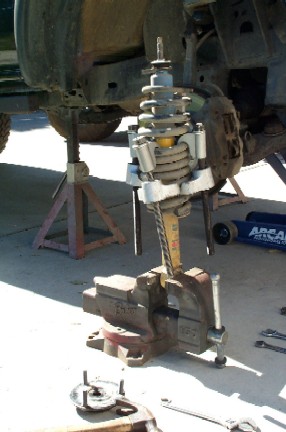
Here the top plate is off. Be VERY careful when working with the spring compressors. If one was to fail, the spring will go flying!
While the top plate is off, use a hammer to knock the stock studs out of it and replace them with the longer ones supplied in the kit.
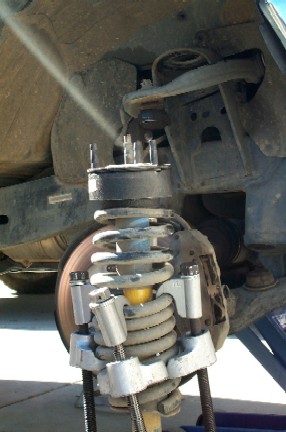

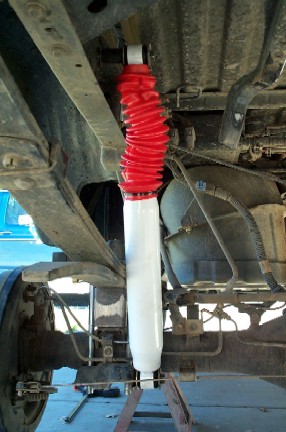
Place the round spacer over the new studs between the top of the strut and the upper strut mount. Once it is in place, replace the top mounting nuts and the lower mounting bolt.
Replace the front tires, the front end installation is complete.
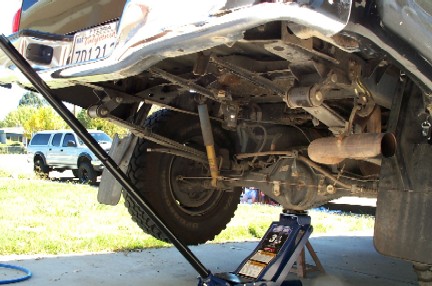
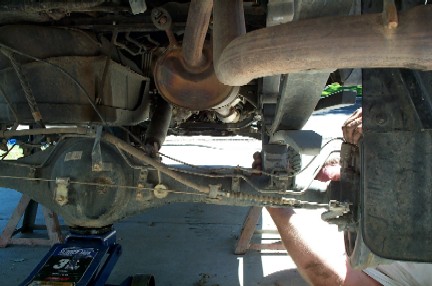
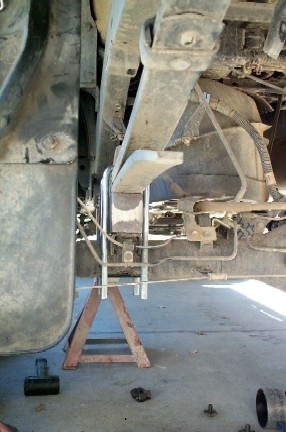
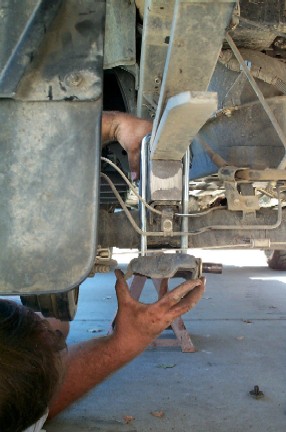
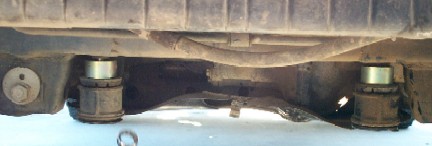
With the rear of the truck supported on jack stands, place the jack under the center of the rear axle and support it. You can then remove the factory U-bolts and lower the axle away from the springs enough to insert the blocks.
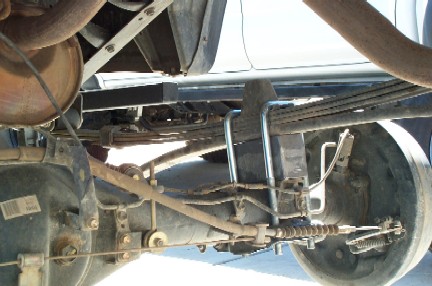
Make sure that the thinner side of the block faces the front of the truck and that the pins line up on the block, leaf spring and axle.


Before you drive around too much, you will want to get an alignment.
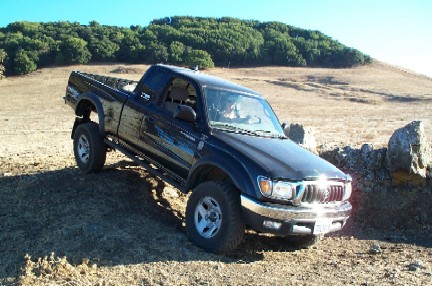
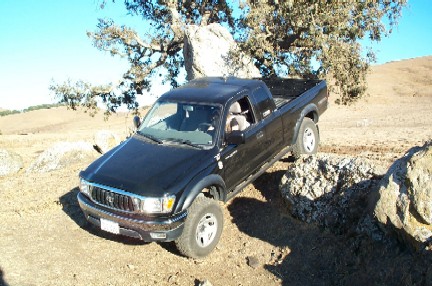
Thats all! Here the truck is ready to go to the ranch for some beauty shots!


First impressions:
The trucks ride is a little stiffer, but it is mostly noticed in the corners, where it has less lean.
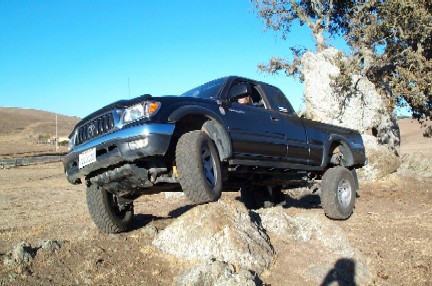
"It handles
*really*
nice actually and I was pleasantly surprised. I definitely
notice the height when driving though not as much as when I get in or
out. Amazing what 3" can do."
10-1-2004