|
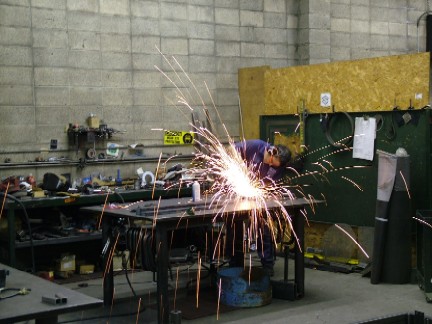
After
the first try on making the scrape plate, I decided to get some help from
Anthony from our club (The Santa
Rosa 4x4's). He had the tools and knowledge to make exactly
what I had originally wanted to make, but was not able to.
For
all picture click HERE.
|
|
|
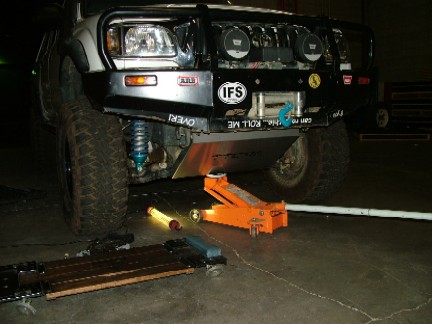
The
first step was to remove the old plate that I had made. Although
it was very strong, it was too heavy and did not cover everything I wanted
to protect.
|
|
|
I
got one of the front skid plates from DMI
Skidplates. This was one that I had done a test
fit on after installing the Tuff
Country lift. We put it up in place and then could measure
and figure out where the new plate would go.
|
|
|
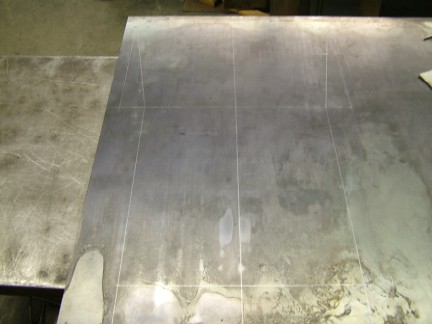
The
next step was to draw it the new plate out on the new metal.
|
|
|
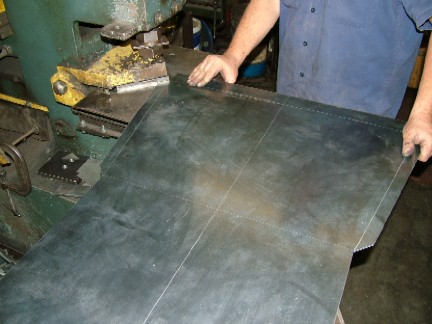
Once
it was drawn out, the larger straight cuts were done.
|
|
|
|
|
|
Once
the shape was cut out, it was time to start bending it. To
do this, a small scrap was used to get the angles we wanted.
|
|
|
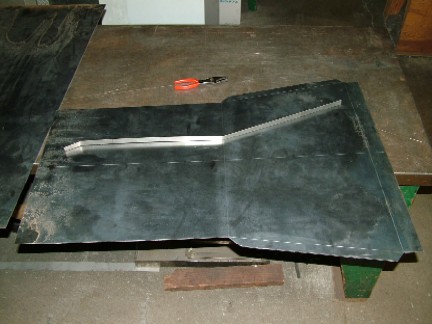
Here
you can see the plate cut out but not yet bent. You can also
see the small piece we used to get the angle of the bends.
|
|
|
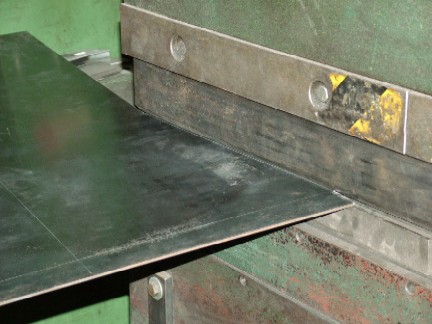
Now
it was off to the bender!
|
|
|
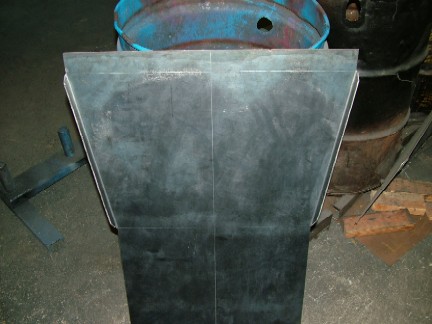
The
side reinforcing
fins are bent.
|
|
|
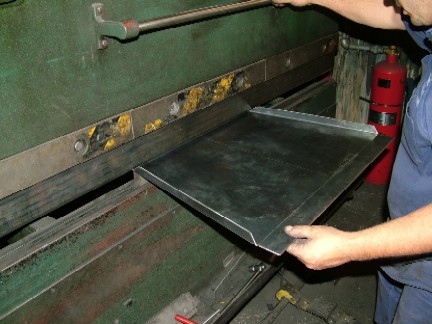
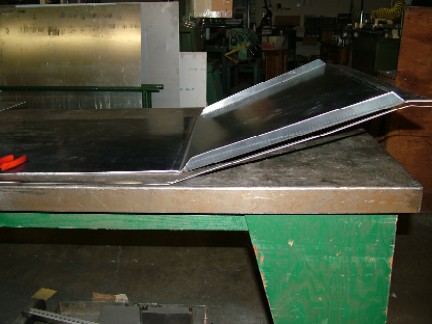
Now
it was time to bend the main section of the plate.
|
|
|
The
first main bend finished.
|
|
|
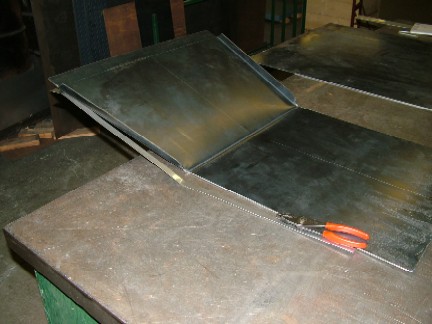
Here
you can see the second bend finished, and the plate behind the small piece
we used to get the angles.
|
|
|
The next step was
to make two cutouts for the bolts on the steering rack. The
smaller one was easy. A small piece of metal was slightly
bent and welded over the hole.
The second rack
bolt hangs down 1/2 inch, so a better cover was needed to keep the rocks
off it.
|
|
|
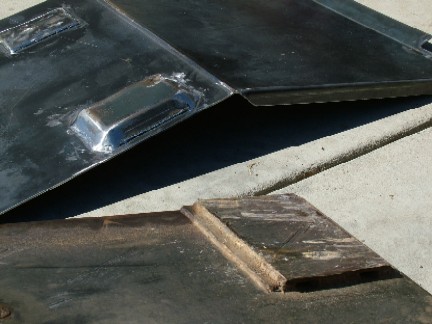
For
the larger hole, a piece of metal was cut, then the edges were bent at
45° angles. Small triangle pieces were used to cover the
corners, and the entire piece was welded to the scrape plate.
|
|
|
The
front edge of the larger rack bolt skid was double welded for extra strength.
|
|
|
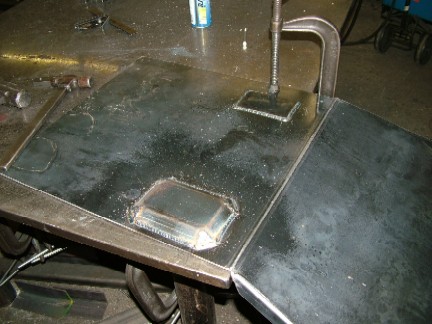
Here
is what the two cutouts look like from the top side.
|
|
|
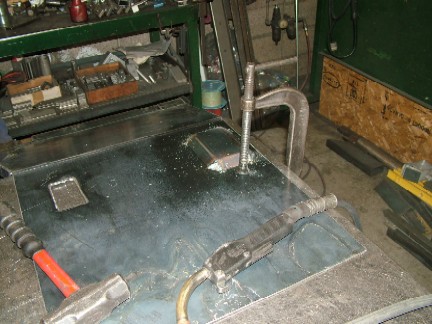
All the welds were
cleaned up, and it was time for a test fitting.
|
|
|
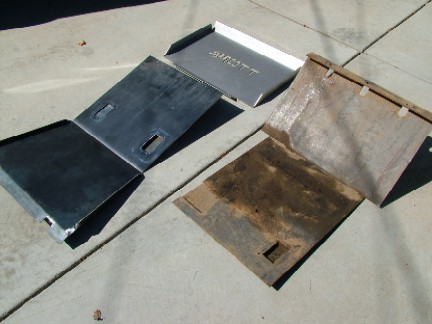
Here you can see
the old and new plates side by side. As you can see, the
new ones cover more area.
We used lighter
metal, but added reinforcing ribs to give it additional strength. The
old plate weighed 79 pounds. The new plates weigh 64 pounds,
so we lost 15 pounds of weight.
|
|
|
One
of the big things that I didn't like was the covers for the rack bolts
that I had made. As you can see, the new ones are much better
and should not be a big hang up problem.
|
|
|
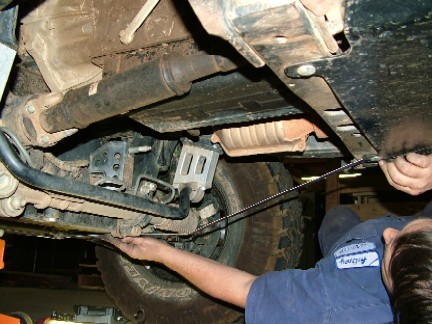
The
next step was to drill out two existing holes in the transfer case cross
member. The holes are marked by a green arrow in the picture.
|
|
|
The
scrape plate was help in place and the location of the mounting holes
were marked in the plate.
|
|
|
The
mounting holes were drilled. The mounting holes are shown
with green arrows. I also drilled a few smaller weep holes
(yellow arrows) in the pockets for the steering rack bolts so water does
not get trapped there.
|
|
|
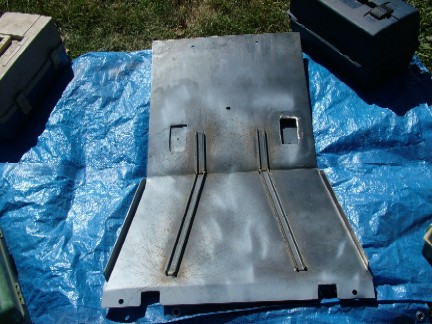
Here
you can see the reinforcing ribs. The plate was cleaned up
and then painted.
|
|
|
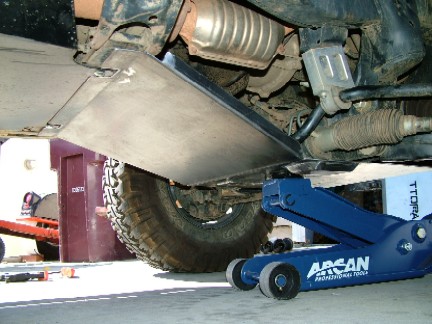
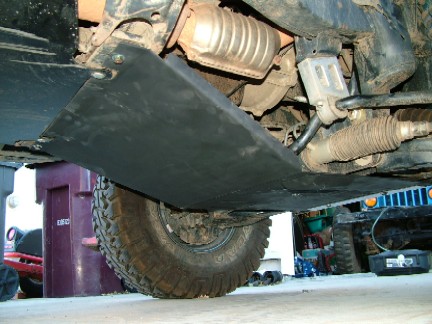
Here
you can see the final product on the truck. Basically everything
is protected from the front to the rear of the transfer case.
|
|
|
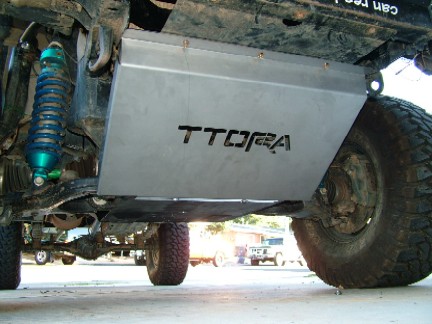
Here
you can see the DMI Scrape plate
on the front. The approach angle is much better with this setup
than it was with my scrape plate.
|
|
|
Now
for the real test.... in a few days I will be heading off to Moab to give
it all a test run! After I get back, I will post an update.
|
|
|
|
|
|
|
|
10-10-2004
|