Coil-Over Conversion On The Jeep TJ

Using the new RS9000X Pro Series Coil-Overs

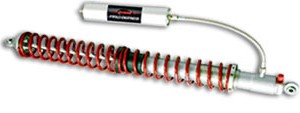
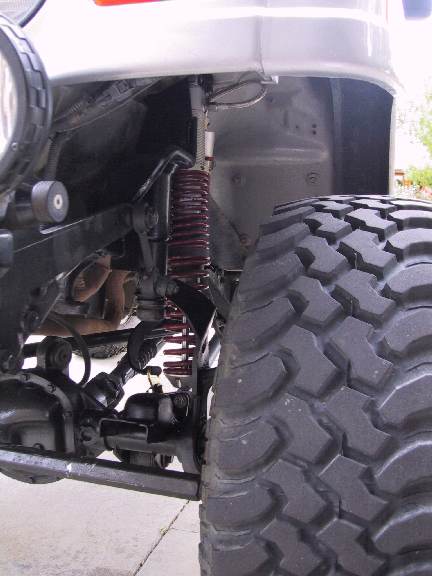
We install the new Rancho 9000x Coil-Overs on our TJ.

Click here for Ranchos web site!

underconstruction


Using the new coil-overs we had to decide on a mounting method to be able to use them on the Jeep. We had a narrow selection to choose from. Fabricating custom hoops can be difficult, but if you have a confidant shop available it is probably the way to go. Some items are pre-fabed and can be used to assemble a system. Blue Torch Fab has some really nice brackets for welding onto the axles. Foothill Off-Road has some nice brackets that can be welded into place of the stock coil bucket, they are a great fit for these coilovers with 4+ inches of lift. Currie has some like units that weld into the stock brackets place, but the Foothill Off-Road design looks stronger. We went with the kit from Poly Performance.

This kit retains the stock bump stop, and coil brackets. We had to cut into the fender for clearance, and to make passage for the cross bar support brace. However the brackets did have to be heated and bent a little to fit better, the limit straps are too short by two inches, also the instructions are lacking. However you can upgrade later to pneumatic bump stops, when the wife forgets how much all this cost. It was a relatively quick install. Plan for a full eight hours in a shop.

This job is best done in a properly equipped shop or very well equipped garage. There is cutting, grinding, and welding involved. DO NOT TRY USING A 110 VOLT WELDER!!!! They do not have enough amperage to properly weld into the frame. The battery of your vehicle must be disconnected before welding. This will help protect the computer from the high amperage pulses.

We do not recommend this installation be done on a vehicle with a short arm lift. The short arms will move backward too far at full down travel and threaten to damage the coil-over by moving it into the side of the bracket.

This install was done at Absolute Off-Road at 440 Independence Ave. Grand Junction CO. (970) 245-8481.

By Johnathan Kazmierczak and Scott Pool.
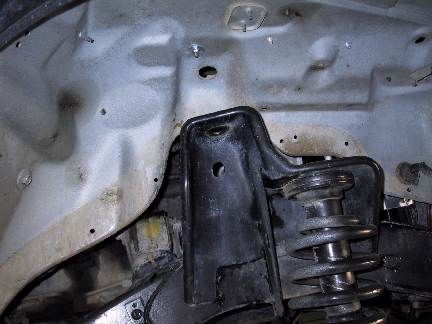
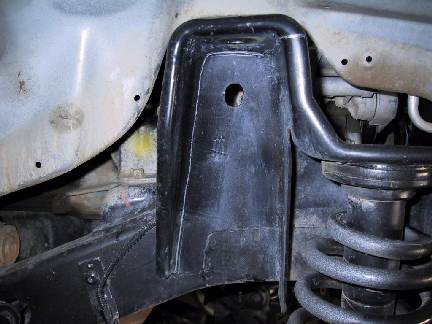
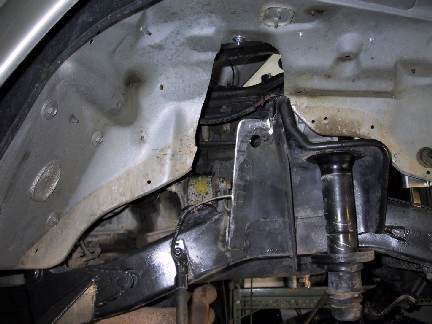
Here is the stock set up. We are going to remove the upper portion of the shock tower. The shock has already been removed. Go ahead and remove the spring and rubber isolator pad.

We marked the bucket with a welders pen. (Gray) We cut to top and rear side of the bucket off. Mark your line close to the bend, but far enough away to make a straight edge.
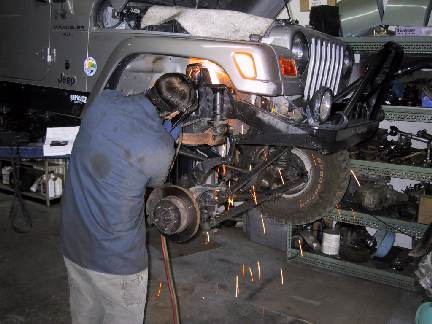
Here is Scott, cutting the brackets off with a cutting torch. We placed a welders heat blanket (seen above on the engine) between the fender and engine. We also fished it down over the brake line. A good operator will be able to cut it right off the frame without cutting into the frame.

Clean up the edges with the grinder, and cut out the fender to make room for the install. This is how much we took off. We could have done a little less. However we wanted to be able to paint behind the bracket after we welded. The instructions that came with the kit suggested only cutting a hole at the top. We found this made it difficult to place the bracket and paint the back after welding. You will have to move some emissions equipment a bit on the drivers side.

Make sure both sides are done and ready. Clean the paint from the areas to be welded.

We may fabricate a splash shield if mud and water become a problem. Some stuff like the black flex able shield held with fasteners would do the trick.

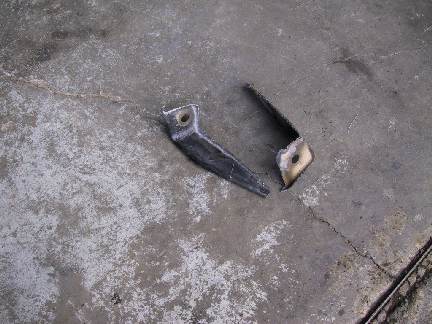
Here are what the pieces we cut off look like.
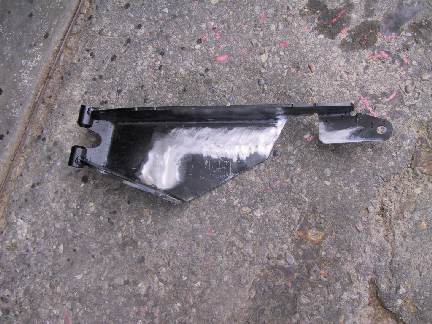
Here is the new bracket. Clean off the area that is going to be welded. Any shipping film or paint can ruin a weld.
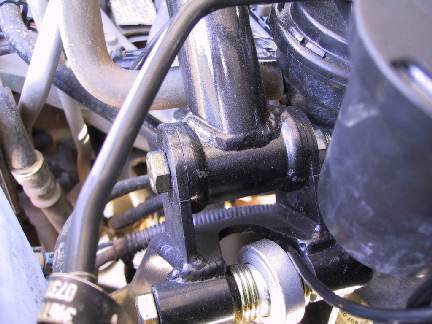
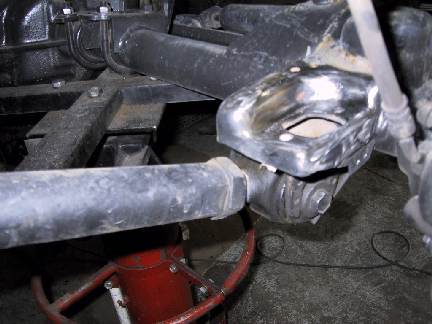
Mount the cross-bar in place. The brackets will be loose. This will help establish the proper position of the brackets. If you do not do this you may not be able to get the bar in after you weld.

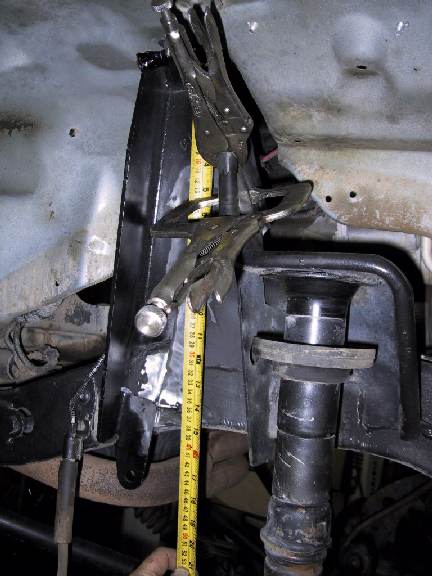
Clamp the brackets into place. Make sure the areas you cleaned of paint are still in the proper place. You may have to remove the bracket and clean some more paint off.


Measure from a fixed point on the bracket and make sure that both brackets are the same height. In our case, from the bottom of the coil over mount to the bottom of the frame was 15 inches. The width measured from the edge level with the top of the small limit strap tab was about 7 inches. Make sure both brackets are as close to the same measurements as possible.

We tack welded the bracket into place. It is important to do this, if you just start welding from one end to the other, the metal will warp and move on you. Tacking keeps it solid while welding. The wet look is the anti-splatter that keeps the spatter from turning into little balls all over the work.
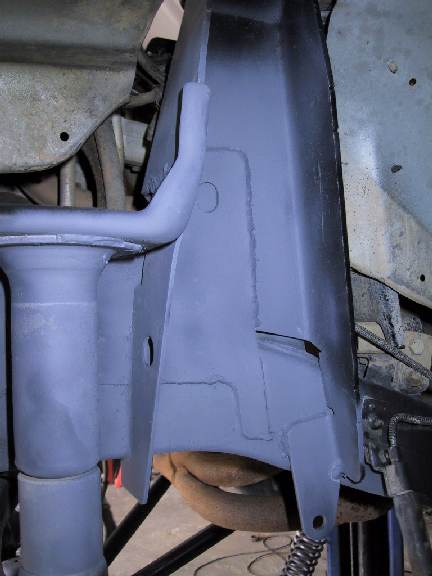
After letting the metal cool. Clean the work, prime, and paint.
Clean the lower bracket of all the paint where you will weld the mount. Also clean the lower bracket.
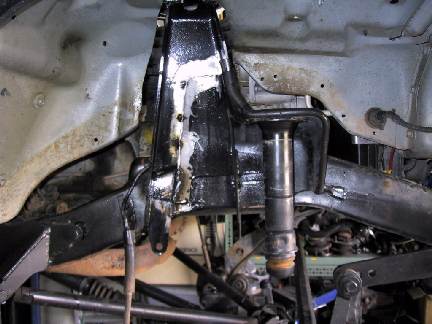
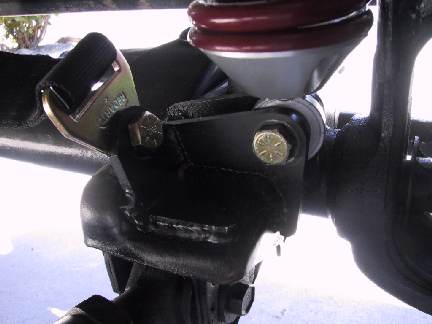
Here is the lower bracket welded in place and bolted up.
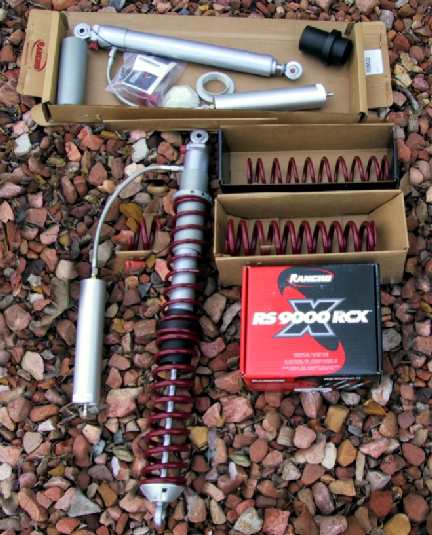
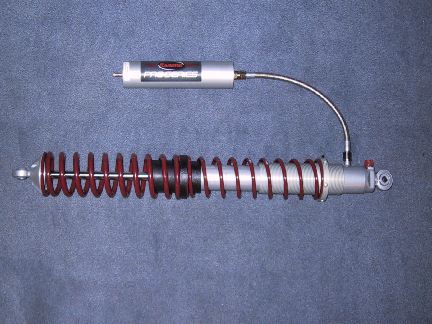
The Coil-Overs do not come assembled. You need to properly assemble them. You can see the process HERE
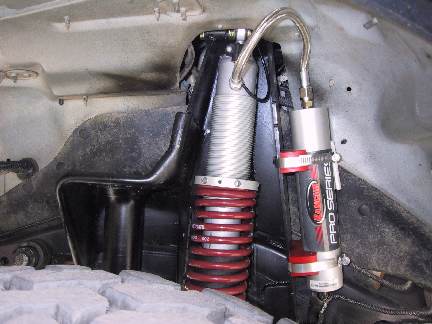
Check the installation for clearances. The tires must not touch the line connecting the reservoir under compression. Run the vehicle up a ramp or in a ditch to flex the system. Make sure nothing is binding, rubbing, or otherwise wrong.

Set the coil height with the screw collar. Properly bump stop the frame so the do not take the hit. Using the shocks to stop the axle can tear up the mounts, blow out the shock, and in general mess up your whole month.


This system will work with the stock components as well with almost all lift systems.

The nice thing about this kit is the ability to put the stock coils back on and replace the coilovers with an extended shock. This can be done for emergency uses or if you wish to keep the coilovers and sell the vehicle. The buyer will still be thrilled with the extra long shocks.

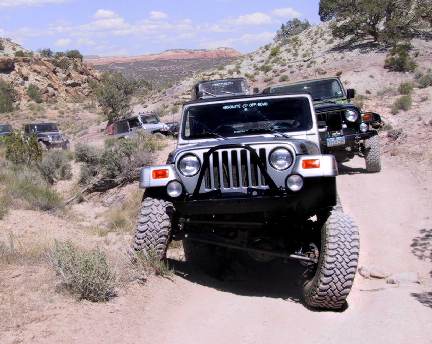
I had to find the hardest line to get this much flex on this trail, Even then it was not fully flexed. The drivers tire can completely clear the body of the Jeep.

Maintain tire contact with the ground is the very best way to get traction. Having long spring travel will ensure that there is pressure on the contact patch. The spring combination gives me 86lbs per inch. This means that for every inch of travel I only give up 86lbs of force. If I had the regular 200 to 250 lb springs, I would be giving up close to 500 lbs of pressure on the lower tire for two inches of drop.

The only drawback to these springs is how the front lifts on climbs and acceleration. The front will have to be strapped down on extreme climbs.

The on road ride is amazing. Setting the coil-overs to about six on the valves gives a firm and very smooth ride.


Return to coil-over page
Return to home page